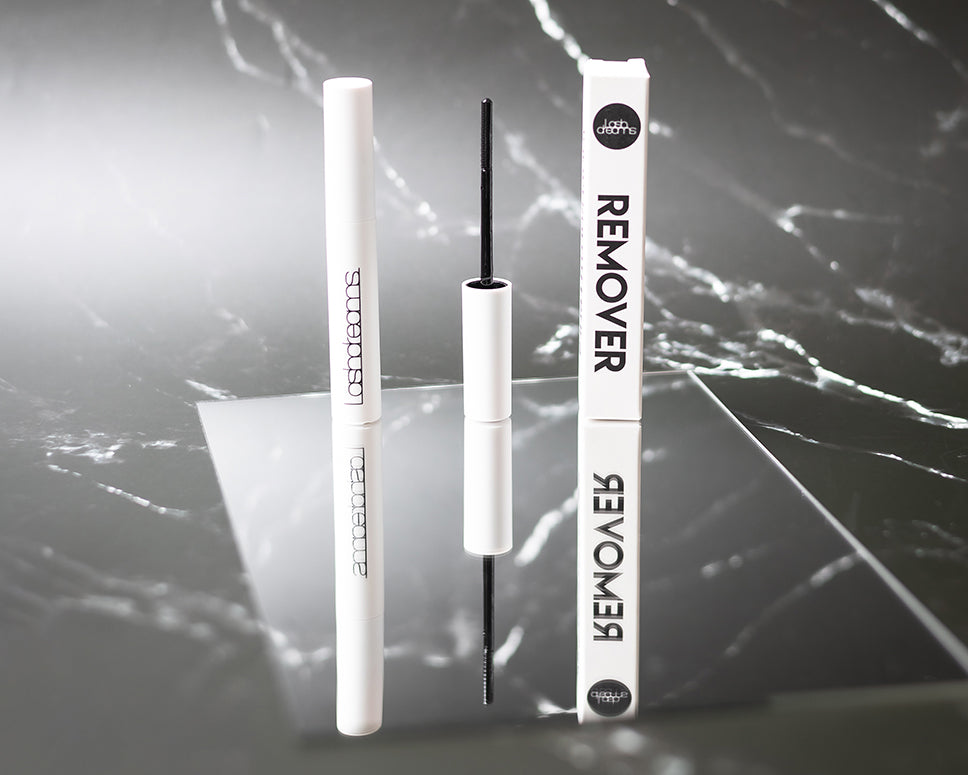
After wearing them for 5 - 7 days, it's time to remove your DIY eyelash extensions and put on a fresh pair. The easiest and most gentle way to do this is with our REMOVER .
1. Apply the REMOVER generously from below and above to your eyelash extensions and massage it in well with the brush. Now wait 2 to 3 minutes until the REMOVER is well absorbed.
2. Place the brush on top of your eyelashes and carefully push the eyelash segments downwards until all segments are loosened.
3. Now you probably still have glue residue on your own eyelashes. Apply a little REMOVER to it too, let it absorb again for 2 - 3 minutes and, if necessary, massage it into your eyelashes until they can be easily removed.
4. You can ultimately remove oil and glue residue with a cotton pad with micellar water.
By the way, it's normal to have a pair of your own eyelashes in the cotton pad. Our eyes lose 2 - 5 eyelashes every day and therefore up to 21 eyelashes accumulate in a week, which then end up in the cotton pad when removed.
We recommend that you take a night's eyelash break now and only use a fresh pair of DIY eyelash extensions the next day.
You don't have a REMOVER ? No problem, you can simply use an oil-based make-up remover of your choice and apply it with your fingers. Please note that the egg setting time can vary from product to product. Be sure to wait until the eyelash segments can be easily removed so as not to rip out your own eyelashes.
If used weekly, one bottle lasts around 3 months.