Everything looks so easy on social media.
Have you read the instructions and watched tutorials, but somehow applying your DIY eyelash extensions doesn't work as it should?
No worries, we got you! With these 11 tips you will definitely get your lashes next time:
1. Take your time!
Mix your favorite drink and take your time to see how applying the DIY eyelash extensions works, step by step.
2. Prepare your lashes
We can't say it often enough: clean eyelashes are the be-all and end-all! A cotton pad with micellar water is the most effective way to degrease your own eyelashes.
3. Practice with the applicator
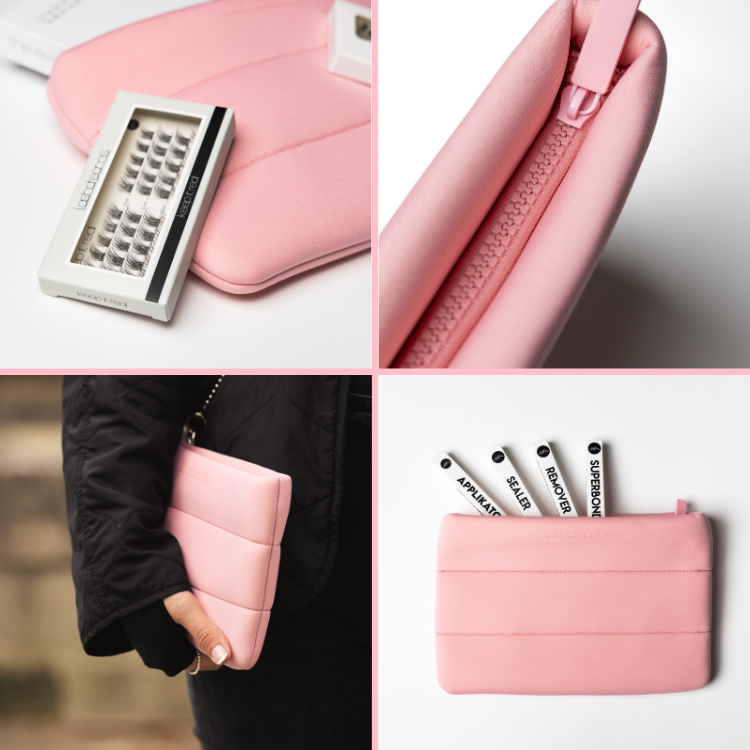
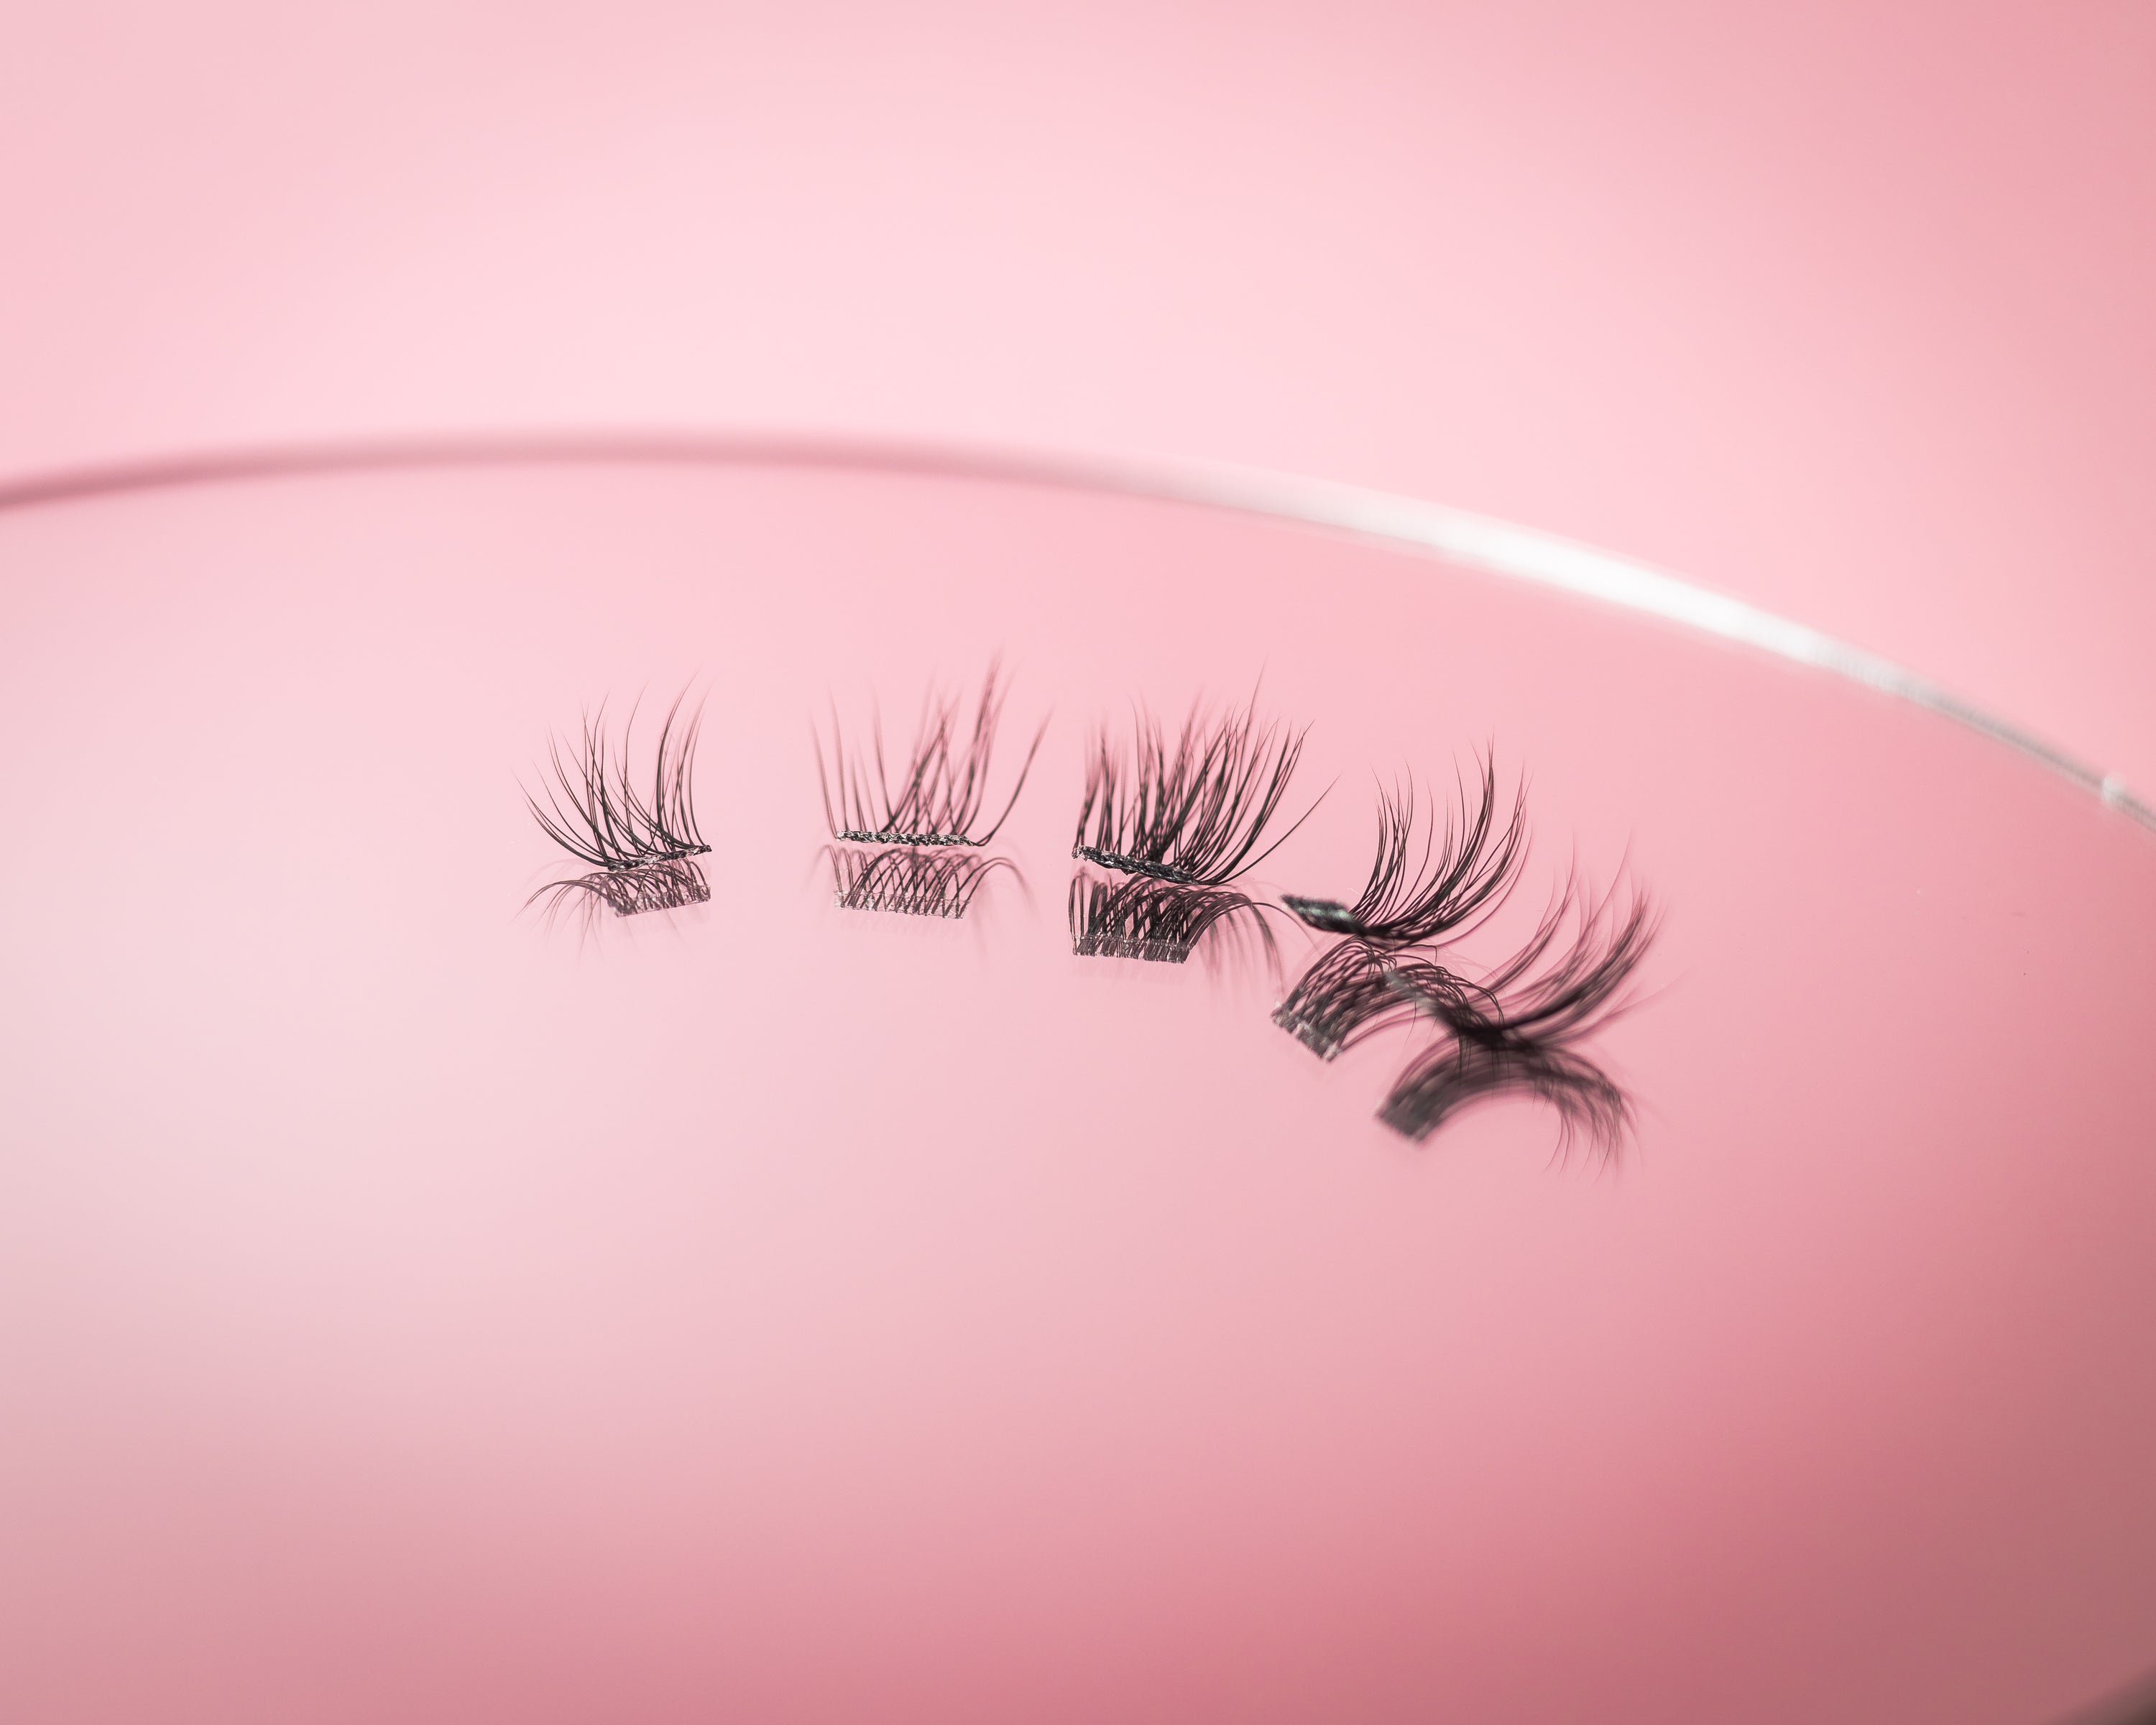
Take the DIY eyelash segments out of the packaging with the APPLICATOR from lashdreams and develop a feeling for how best to grip the segments. The APPLICATOR is definitely a little different than simple tweezers. If you prefer to attach the eyelash segments with your tweezers, you can of course do that too. As the last step to connect the eyelashes, you should definitely use the APPLICATOR .
4. Apply the eyelash glue correctly
Apply your lashdreams SUPERBOND like mascara - almost! Concentrate on the roots of your lashes and avoid the lengths, otherwise they will stick together. Especially if you have long natural eyelashes, you don't want to see any glue residue in the lengths. Now the most important thing: Wait 30 - 60 seconds until the SUPERBOND is really sticky, then the DIY eyelash segments will stick. Pro tip for extra long hold: Add a little glue to the individual eyelash segments. Again, wait until the glue has dried slightly.
5. Use a table mirror
It's best to look down in a mirror - from there you have the best view of the underside of your eyelashes. Rest your elbow on the table to provide more stability if needed.
6. Distance of the DIY eyelash segments to the eye
Maintain a distance of approx. 1 mm from your waterline so they will last the longest. You shouldn't feel your eyelashes when you blink - if you do, you've placed them too close to your eye.
7. Outer eyelashes
The lashes on the inner and outer lash lines are thinner and shorter than the rest. Do not place the DIY eyelash segments too far in and leave out a few lashes on the outside. The DIY eyelash extensions will not only visually lift your eyes, but will also last longer.
8. Connecting the eyelashes to the applicator
When connecting your eyelashes with the DIY eyelash extensions, make sure that you really capture all of the eyelashes when you press them together with the APPLICATOR . Hold it down for at least 10 seconds.
9. Clean the applicator/tweezers occasionally
When connecting the eyelashes does the applicator get stuck on the eyelashes? Wet the inside of the applicator with the SEALER or a damp cotton swab. This way nothing gets stuck. It is also recommended to remove any adhesive residue from the tweezers or your applicator, depending on what you are using to attach the DIY lashes. This will save you nerves 😉
10. Sealing
Let the SUPERBOND dry a little before sealing your DIY eyelash extensions with the SEALER . This will make your lashes last longer, remove excess adhesive residue and protect the lashes from dust particles.
11. Aftercare
Oil dissolves our SUPERBOND . Avoid oily products around the eyes while wearing the DIY eyelash extensions. When removing make-up, you can switch to an oil-free make-up removal product and you should not use oils in the eye area during your skincare either.